


Roasting pans are one of those cooking items that many, including myself, can’t do without. I love that the cooking and also the mess is all in one pan. Also, the fragrance that comes from cooking in a roasting pan is scrumptious. There’s nothing quite like the smell of a turkey cooking on a frigid winter day to warm your spirits and get your mouth watering. Today I’m going to cover two basic roasting pan recipes that even a beginner can accomplish.
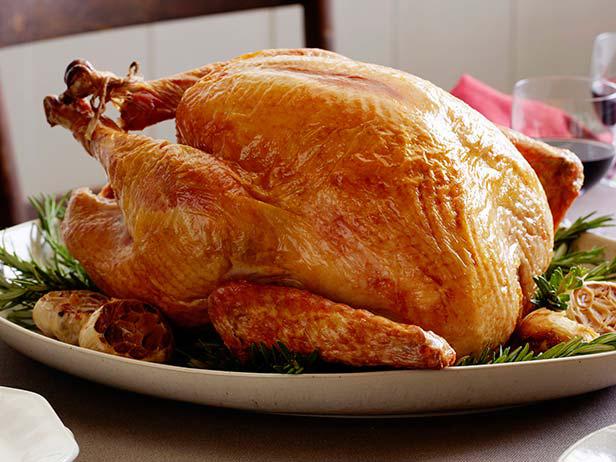
Roast Turkey (From Betty Crocker)
Ingredients
Whole Turkey, 12 pounds
Butter or Margarine, melted
Steps:
Select a turkey that is plump and meaty with smooth, moist-looking skin. The skin should be cream colored. The cut ends of the bones should be pink to red.
If the turkey is frozen, thaw it either slowly in the refrigerator, in cold water, or quickly in the microwave, following the manufacturer’s directions. A turkey weighing 8 to 12 pounds will thaw in about two days in the refrigerator. A turkey weighing 20 to 24 pounds will thaw in about five days in the refrigerator. A whole turkey can be safely thawed in cold water. Leave the turkey in its original wrap, free from tears or holes. Place in cold water, allowing 30 minutes per pound for thawing, and change the water often.
Remove the package of giblets (gizzard, heart, and neck), if present, from the neck cavity of the turkey, and discard. Rinse the cavity, or inside of the turkey, with cool water; pat dry with paper towels. Rub the cavity of the turkey lightly with salt if desired, but do not salt the cavity if you will be stuffing the turkey.
Stuff the turkey just before roasting–not ahead of time. Fill the wishbone area (the neck) with stuffing first. Fasten the neck skin to the back of the turkey with a skewer. Fold the wings across the back, so the tips are touching. Fill the body cavity lightly with stuffing; do not pack the stuffing because it will expand during roasting. Tuck the drumsticks under the band of skin at the tail, or tie the drumsticks to the tail.
Place the turkey, breast side up, on a rack in a shallow roasting pan. Brush with melted butter or margarine. It is not necessary to add water or to cover the turkey. Insert ovenproof meat thermometer, so the tip is in thickest part of the thigh and does not touch bone. Follow the timetable for approximate roasting time. Place a tent of aluminum foil loosely over the turkey when it begins to turn golden. When it is two-thirds done, cut the band or remove the skewer holding the drumsticks; this will allow the interior part of the thighs to cook through.
Roast until the thermometer reads 165°F (for a whole turkey) and drumsticks move easily when lifted or twisted. The thermometer inserted in center of the stuffing should read 165°F. When the turkey is done, remove it from the oven and let it stand for 15 minutes to make carving easier. Keep the turkey covered with aluminum foil so it will stay warm.
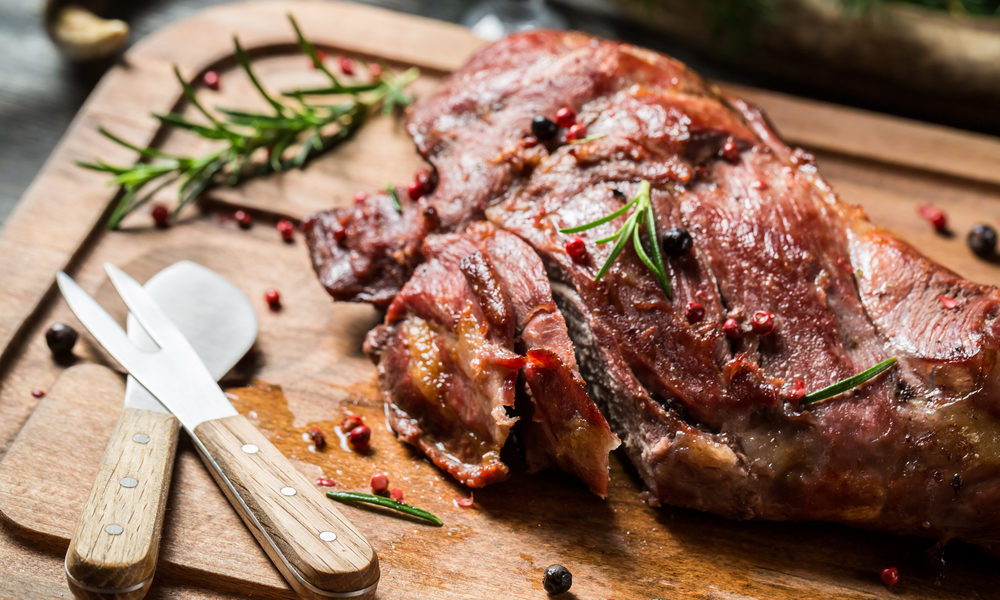
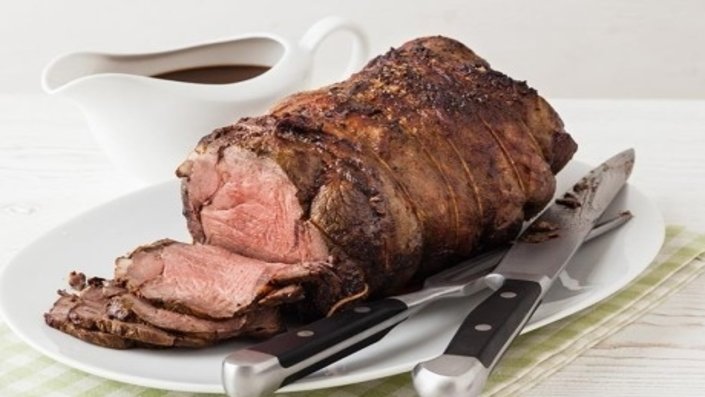
Beef Roast (From Betty Crocker)
Ingredients:
Beef Roast (any size will work)
Steps:
Remove the beef from the refrigerator about 90 minutes before roasting it, so it doesn’t go into the oven chilled. Cold meat doesn’t cook evenly.
Heat the oven to 475 degrees Fahrenheit if you want a well-browned exterior. Alternatively, heat it to 325 F if you’re more concerned with minimizing meat shrinkage during roasting than nicely browning the outside. Give your oven about 30 minutes to heat up to the higher temperature or 20 minutes to reach the lower temperature.
Blot moisture off the surface of the beef with paper towels. Pat on salt and pepper to taste, as well as any other spices or herbs you’d like to include. You could give your roast some heat with a favorite chili powder or Cajun seasoning, or add depth of flavor with some dried oregano, thyme, or garlic powder.
Press an oven-safe meat thermometer into the center of the beef roast. Don’t let it touch bone if you have a bone-in cut, as this throws off readings. Because cooking times vary so much by cut and thickness of the meat, knowing the temperature of the inside of the meat is the only true way to know if it is cooked the way you desire it. Cover the bottom of the roasting pan with aluminum foil to simplify cleanup if you don’t intend to deglaze it to make a sauce for your beef roast. Leave it uncovered if you will deglaze. Put the rack in the roaster tray, put the beef on it, and place it in the middle of the oven.
Turn the heat down to 325 F after about 15 or 20 minutes if you began at a higher temperature to brown the beef. Otherwise, cook at a consistent 325 F for the entire roasting period.
Remove the roast from the oven when it reaches 7 to 10 F below the desired internal temperature, as the temperature continues to rise during resting. The larger the roast, the more its temperature rises with residual cooking. While U.S. food safety standards call for cooking solid cuts of beef to 145 F, many cooks choose to go to only 120 F for rare meat, 130 F for medium-rare, or 140 F for medium; others go further to 150 for medium-well or 160 for well done. Keep in mind that beef becomes drier and tougher the more it cooks.
Leave the beef roast to rest for at least 10 to 15 minutes before carving it. If you don’t, juices that seep out of the muscle fibers during roasting don’t get reabsorbed and escape the meat when it’s cut.
Final Thoughts
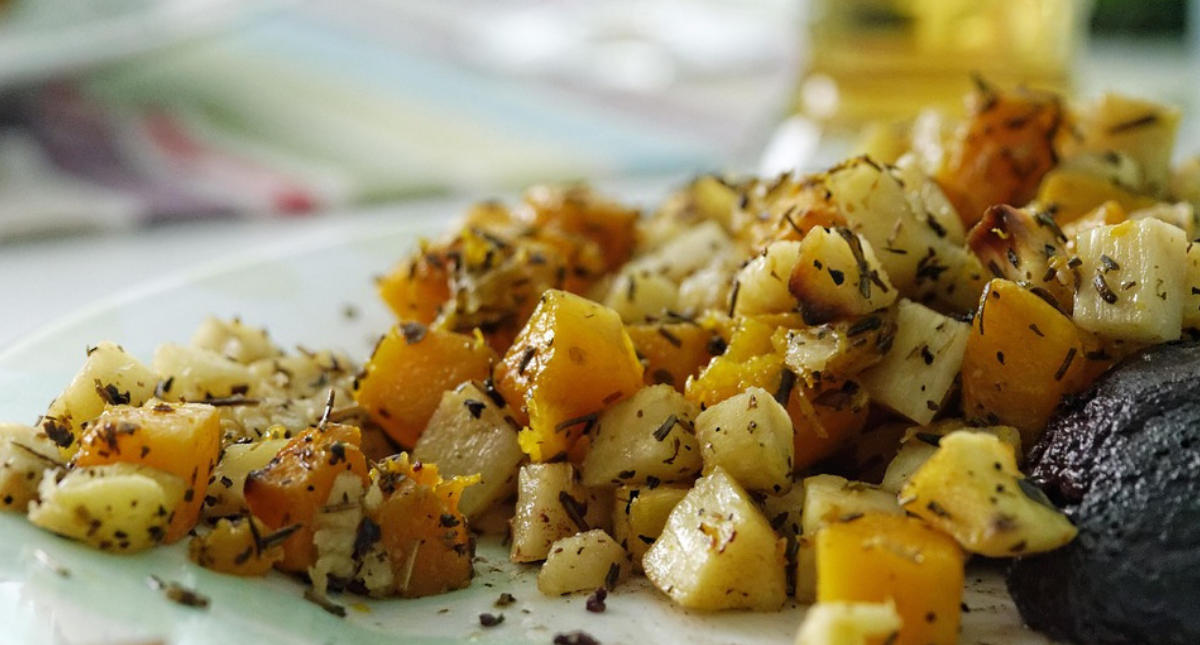
I’ve covered two of the most basic roasting pan recipes. They are also two of the most famous recipes out there. One of the great things about these two recipes is that you can vary the recipe how you wish. For example, for the turkey recipe, you can experiment with adding glazes like honey and garlic. For the roast recipe, try adding carrots and yams. It’s so fun to experiment. Once you get the basics down, keep adding or subtracting ingredients based on your taste and what kind of veggies that you have on hand. Enjoy!
For more information, check out our Top Picks for Roasting Pans in 2018.